
Why Is My Curly Hair So Frizzy? 7 Causes + Solutions That Work
Discover why your curly hair is frizzy and how to fix it permanently. Learn 7 common causes, best products, and expert techniques for smooth, defined curls.
Are you tired of waking up to a frizz ball instead of beautiful, defined curls? You’re not alone. Frizzy hair is the number one complaint among people with naturally curly hair.
But here’s the good news: frizz isn’t a life sentence. With the right knowledge and techniques, you can transform your wild, frizzy curls into smooth, bouncy, Instagram-worthy spirals.
In this comprehensive guide, I’ll walk you through everything you need to know about frizzy curly hair—from understanding what causes it to implementing practical solutions that actually work.
Table of Contents
- What Is Frizz? The Science Explained
- 7 Major Causes of Frizzy Curly Hair
- How to Fix Frizzy Curls: Complete Guide
- Best Anti-Frizz Products for 2025
- Daily Routine for Frizz-Free Curls
- Common Mistakes Making Your Frizz Worse
- FAQs
What Is Frizz? Understanding The Science
Before we dive into solutions, let’s understand what frizz actually is.
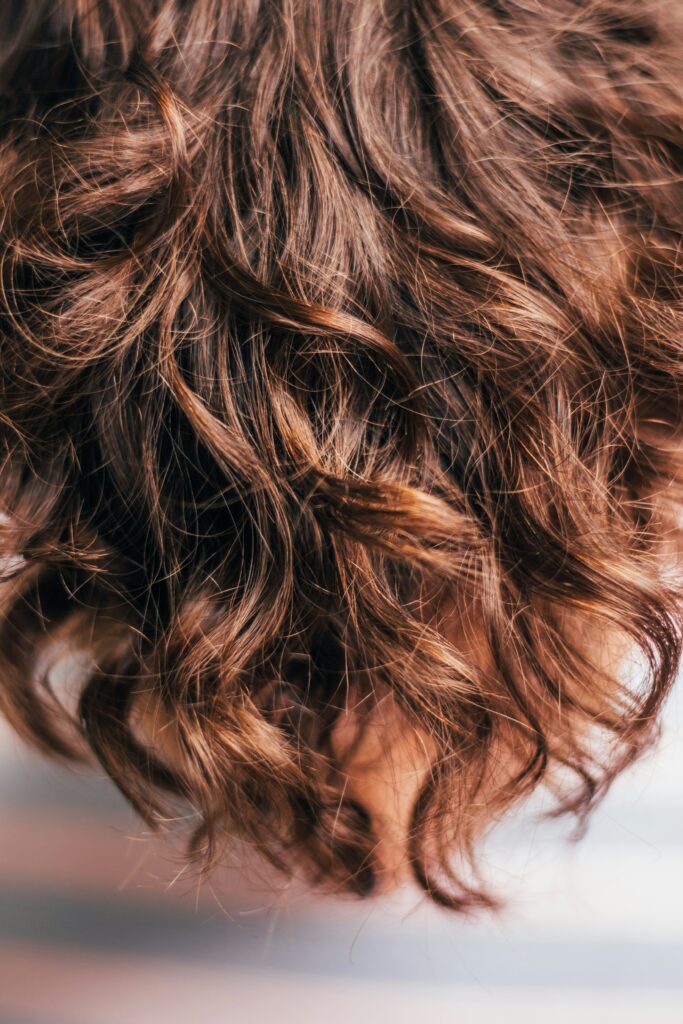
Frizz refers to those individual strands of hair that stick out from your main curl pattern, creating a halo effect or overall messy appearance. These rebel strands have lost their curl definition and instead stand on their own.
The Scientific Explanation
At a microscopic level, each strand of hair is covered by overlapping cells called the cuticle. When these cuticle layers lie flat and smooth, your hair looks shiny and defined. But when they’re raised and rough, your hair becomes:
- Prone to moisture absorption from the air
- Unable to reflect light properly (appears dull)
- Likely to tangle with neighboring strands
- Susceptible to breakage
Here’s the key insight: Curly hair is naturally drier than straight hair because the shape of the curl makes it difficult for your scalp’s natural oils (sebum) to travel down the hair shaft. This inherent dryness makes curly hair especially vulnerable to frizz.
Think of your curly hair like a dry sponge. When exposed to humidity, it eagerly absorbs moisture from the air, causing the hair shaft to swell and the cuticle to lift—resulting in frizz.
7 Major Causes of Frizzy Curly Hair
Now that you understand what frizz is, let’s explore why it happens to your curls.
Cause 1: Lack of Moisture (The #1 Culprit)
This is the most common reason for frizzy curls, and it’s largely due to the structure of curly hair itself.
Why curly hair stays dry:
- The spiral shape prevents natural oils from coating the entire strand
- Each twist and turn in the curl creates a barrier for oil distribution
- Environmental factors constantly strip moisture
- Many hair products aren’t moisturizing enough
Signs your hair is dehydrated:
- Hair feels rough and straw-like to the touch
- Curls break easily when stretched
- Hair looks dull with no shine
- Products seem to absorb instantly without lasting effect
- Hair feels thirsty even after conditioning
The solution: Deep conditioning weekly, using leave-in conditioners daily, and choosing water-based products over oil-based ones (oils can seal out moisture rather than adding it).
Recommended Products:
- Shea Moisture Deep Treatment Mask – Intensely moisturizing
- Kinky-Curly Knot Today Leave-In – Lightweight daily moisture
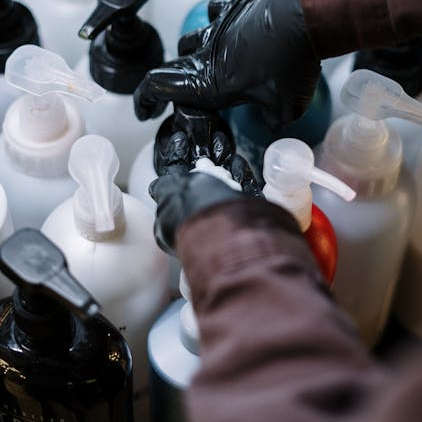
Cause 2: Using Products with Harsh Ingredients
Not all hair products are created equal, and some actively contribute to your frizz problem.
Ingredients that cause frizz:
Sulfates (Sodium Lauryl Sulfate, Sodium Laureth Sulfate)
- These are harsh detergents found in most shampoos
- They strip your hair of natural oils
- Leave hair squeaky clean but desperately dry
- Can damage the cuticle layer over time
Drying Alcohols (Alcohol Denat, Isopropyl Alcohol, SD Alcohol)
- Evaporate quickly, taking moisture with them
- Make hair brittle and prone to breakage
- Note: Not all alcohols are bad! Cetyl alcohol and stearyl alcohol are actually moisturizing
Non-Water-Soluble Silicones (Dimethicone, Cyclopentasiloxane)
- Create buildup on hair over time
- Block moisture from penetrating the hair shaft
- Require harsh sulfates to remove, creating a vicious cycle
- Make hair look shiny initially but damage it long-term
How to check your products: Look at the ingredients list (first 5 ingredients matter most). If you see these harmful ingredients listed early, it’s time to switch.
Better alternatives:
- Sulfate-free shampoos with gentle cleansers
- Products with “good” alcohols (fatty alcohols)
- Water-soluble silicones (end in -cone but wash out easily)
Cause 3: Heat Damage
Heat styling tools might give you temporary results, but they’re secretly destroying your curl pattern and causing long-term frizz.
How heat damages curly hair:
- Temperatures above 350°F (177°C) begin to break down hair proteins
- The cuticle layer gets permanently damaged
- Moisture gets literally baked out of your strands
- Natural curl pattern becomes permanently altered
Warning signs of heat damage:
- Curls won’t spring back after stretching
- Some sections stay straight while others curl
- Hair feels crispy or crunchy
- Excessive breakage and split ends
- Loss of natural shine
Heat styling facts:
- One-time heat exposure: Minimal damage
- Weekly heat styling: Noticeable damage within months
- Daily heat styling: Severe damage within weeks
Safe heat guidelines:
- Always use heat protectant spray (non-negotiable!)
- Keep heat tools below 300°F when possible
- Use diffuser attachment instead of direct blow-drying
- Air dry whenever time permits
- Give your hair “heat holidays”—weeks without any hot tools
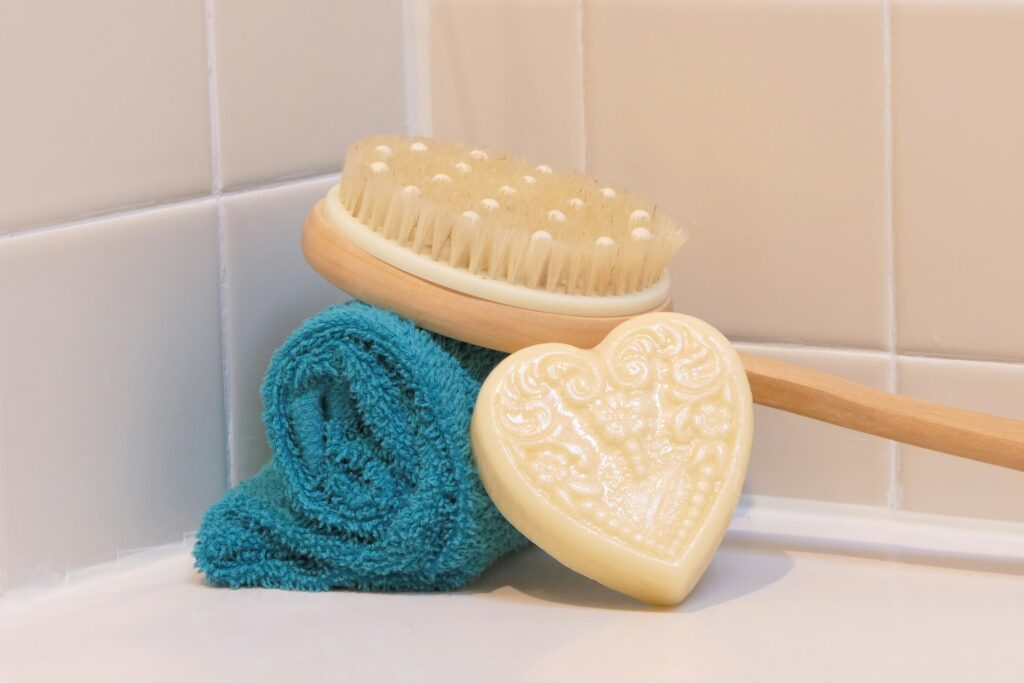
Cause 4: Physical Damage from Towels and Brushing
This might surprise you, but the way you dry and detangle your hair could be your biggest frizz trigger.
The towel problem: Regular cotton towels have a rough, looped texture that:
- Creates friction against your hair cuticle
- Disrupts your natural curl pattern
- Absorbs too much moisture too quickly
- Causes individual strands to separate and frizz
The brushing mistake: Brushing dry curly hair is one of the worst things you can do. Here’s why:
- Separates every individual strand from its curl family
- Breaks the natural curl clumps
- Creates hundreds of flyaways
- Causes physical breakage
The right way:
- Use microfiber towels or cotton t-shirts (smooth surface)
- Gently squeeze or “scrunch” water out instead of rubbing
- Only detangle when hair is soaking wet and coated with conditioner
- Use a wide-tooth comb or your fingers
- Work from ends to roots to minimize breakage
Cause 5: Sleeping on Cotton Pillowcases
Eight hours of friction against cotton fabric every night adds up to serious frizz damage.
Why cotton pillowcases cause frizz:
- Cotton is absorbent—it literally sucks moisture from your hair
- The rough texture creates friction with every head movement
- Your curls get crushed and misshaped while you sleep
- You wake up with frizz, flat spots, and undefined curls
The solution: Silk or satin
- Smooth surface means minimal friction
- Non-absorbent material keeps moisture in your hair
- Allows your head to glide without disturbing curl pattern
- Bonus: Better for facial skin too!
Additional nighttime protection:
- “Pineapple” method: Gather hair in a very loose, high ponytail
- Use silk/satin scrunchies (never tight elastics)
- Consider a satin bonnet or hair wrap for extra protection
Investment worth it: A quality satin pillowcase costs $15-30 but lasts years and makes a dramatic difference.
Cause 6: Environmental Factors
Sometimes frizz is caused by factors beyond your control—but you can still protect against them.
Humidity (The Curl Killer)
- Hair is hygroscopic, meaning it absorbs water from the air
- In humid conditions, dry hair seeks moisture aggressively
- This causes the hair shaft to swell and the cuticle to lift
- Result: Frizz city, especially in summer or tropical climates
Dry Weather
- Winter air and indoor heating strip moisture
- Hair becomes dehydrated and brittle
- Static electricity makes frizz even worse
Hard Water
- Contains high levels of calcium and magnesium
- These minerals deposit on hair, creating buildup
- Buildup makes hair rough, dull, and frizz-prone
- Very common in many cities and rural areas
Pollution and UV Rays
- Pollution particles stick to hair, making it dull
- UV radiation breaks down hair proteins
- Both contribute to cuticle damage
Protection strategies:
- Use anti-humidity products in summer
- Add extra moisture in winter
- Install a shower filter for hard water
- Use UV protection spray when outdoors
- Clarify monthly to remove buildup
Cause 7: Lack of Protein-Moisture Balance
This is a less obvious but crucial factor in frizz control.
Your curly hair needs both protein (for strength and structure) and moisture (for hydration and flexibility). Too much or too little of either causes problems.
Signs you need MORE protein:
- Hair feels gummy or overly stretchy when wet
- Curls are limp and won’t hold a shape
- Hair lacks volume and definition
- Lots of breakage
Signs you need MORE moisture:
- Hair feels dry, rough, and brittle
- Breaks with very little stretch
- Curls are undefined and frizzy
- Hair looks dull
The balance: Most curly hair types need:
- Regular moisture (daily/every wash)
- Occasional protein (weekly or monthly, depending on hair type)
How to add protein:
- Protein treatments or masks
- Products with hydrolyzed proteins
- Rice water rinses
How to add moisture:
- Deep conditioning treatments
- Leave-in conditioners
- Moisturizing styling products
How to Fix Frizzy Curls: Complete Step-by-Step Guide
Now that you know what causes frizz, let’s fix it. Here’s your complete action plan.
Step 1: Reset Your Hair with a Clarifying Wash
Before starting any new routine, you need a clean slate.
Why clarify? Your hair likely has months of product buildup, hard water minerals, and environmental pollutants coating it. This buildup prevents moisture and products from penetrating properly.
How to clarify:
- Purchase a clarifying shampoo (Neutrogena Anti-Residue is affordable and effective)
- Wet hair thoroughly with warm water
- Apply clarifying shampoo to scalp and hair
- Massage for 2-3 minutes
- Rinse completely
- Important: Follow immediately with a deep conditioning treatment (clarifying is drying!)
- Leave deep conditioner on for 20-30 minutes
- Rinse with cool water
Frequency: Only do this once monthly or when you notice buildup. More frequent clarifying will over-strip your hair.
Step 2: Master the “Wet Application” Technique
This is the game-changing technique that many curly-haired people miss.
The golden rule: Apply all styling products to soaking wet hair.
Why wet application works:
- Products distribute more evenly
- You use less product (saves money!)
- Creates better curl clumps
- Reduces frizz from the start
- Easier to apply without disrupting curls
How to do it:
- After conditioning, don’t towel dry yet
- While hair is dripping wet, apply leave-in conditioner
- Use “praying hands” method: Smooth product down strands with both palms
- Then scrunch upward to encourage curl formation
- Add curl cream or gel while still wet
- Now gently squeeze out excess water with microfiber towel
- Continue styling or start drying process
Product layering order:
- Leave-in conditioner (moisture)
- Curl cream or mousse (definition and moisture)
- Gel (hold and frizz control)
Step 3: Don’t Skip the Gel
Many people avoid gel because they fear crunchy, stiff curls. But gel is your best friend for frizz control!
Why gel works:
- Creates a protective cast around each curl
- Locks out humidity
- Prevents frizz throughout the day
- Provides hold so curls maintain their shape
How to use gel correctly:
- Apply to soaking wet hair (after other products)
- Use more than you think you need—generous application
- Scrunch it into your curls
- Let hair dry 100% completely
- Once totally dry, “scrunch out the crunch” (SOTC)
- Result: Soft, defined, frizz-free curls!
SOTC (Scrunch Out the Crunch) technique:
- Put 2-3 drops of oil in your palms
- Rub hands together
- Gently scrunch your curls
- The gel cast will break, leaving soft, touchable curls
Best gels for curly hair:
- LA Looks Extreme Sport Gel (budget-friendly, strong hold)
- Aussie Instant Freeze Gel (affordable, good hold)
- Ecoslay Orange Marmalade (natural, medium hold)
Step 4: Dry Without Disturbing
How you dry your hair is just as important as the products you use.
Three drying methods:
Method 1: Air Drying
- Pros: Zero heat damage, free, easy
- Cons: Takes 3-6 hours, curls may be less defined
- Best for: Loose waves, fine hair, warm climates
- Tip: Apply products, then don’t touch until 100% dry
Method 2: Diffusing
- Pros: Faster drying (1-2 hours), more volume, better definition
- Cons: Requires diffuser attachment, some heat exposure
- Best for: Tighter curls, thick hair, humid climates
- Technique:
- Use low heat, low speed
- Cup curls gently in the diffuser bowl
- Hover and pulse—don’t rub
- Work section by section
Method 3: Plopping
- Pros: Reduces frizz, enhances definition, speeds air drying
- Cons: Can cause flat roots on some hair types
- Best for: Wavy to curly hair
- How to plop:
- Lay microfiber towel or t-shirt flat
- Flip hair into center of towel
- Wrap towel around head turban-style
- Leave for 15-30 minutes
- Remove and air dry or diffuse
Critical rule for all methods: DO NOT TOUCH your hair while it’s drying! Every touch adds frizz.
Step 5: Protect Your Curls Overnight
Your nighttime routine can make or break your next-day curls.
The Pineapple Method (Most Popular):
- Flip head upside down
- Gather all hair at the very top/crown of your head
- Secure with a silk or satin scrunchie—very loosely!
- Creates a “pineapple” shape
- Preserves curls and maintains root volume
Additional night protection:
- Satin or silk pillowcase (essential!)
- Satin bonnet or hair wrap (great for shorter hair)
- Buff or satin cap (covers entire head)
Morning refresh:
- Take down pineapple
- Spray hair lightly with water
- Apply small amount of leave-in conditioner or curl refresher
- Scrunch gently
- Let air dry or diffuse on cool setting
Best Anti-Frizz Products
Here are the products that actually work for frizz control, organized by category.
Shampoos (Sulfate-Free)
Budget Pick: Garnier Fructis Curl Nourish Shampoo
- Price: $6-8
- Pros: Affordable, widely available, gentle cleansing
- Cons: May not work for very thick/coarse hair
- Buy on Amazon
Mid-Range: SheaMoisture Coconut & Hibiscus Curl & Shine Shampoo
- Price: $11-13
- Pros: Moisturizing, great for dry hair, natural ingredients
- Cons: Some find scent too strong
- Buy on Amazon
Premium: DevaCurl Low-Poo Delight
- Price: $24-28
- Pros: Super gentle, perfect for fine/wavy hair
- Cons: Pricey, some controversy around brand
- Buy on Amazon
Deep Conditioners / Masks
Budget: Shea Moisture Manuka Honey & Mafura Oil Intensive Hydration Mask
- Price: $12-15
- Frequency: Weekly
- Best for: Dry, damaged, frizz-prone hair
- Results: Intense moisture, improved shine
- Buy on Amazon
Natural DIY Option: Mix: 2 tbsp coconut oil + 1 tbsp honey + 1 tbsp olive oil Apply to damp hair, leave 30 minutes, rinse Cost: Under $2 per treatment!
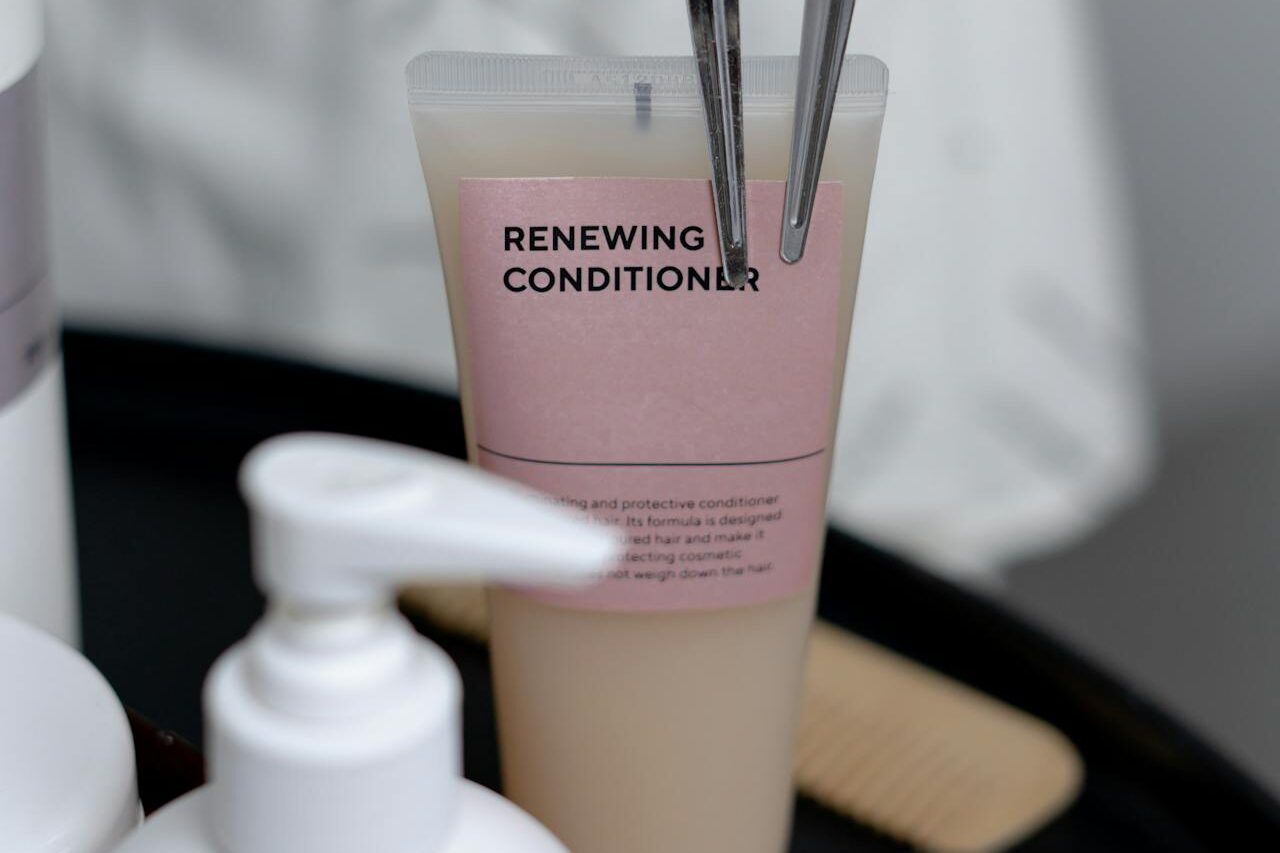
Leave-In Conditioners
Best Overall: Kinky-Curly Knot Today Leave-In
- Price: $12-14
- Texture: Lightweight, milky
- Best for: Detangling, daily moisture, all curl types
- Buy on Amazon
Budget: Cantu Shea Butter Leave-In Conditioning Repair Cream
- Price: $6-7
- Texture: Thick cream
- Best for: Very dry, thick, coarse hair
- Note: Can be heavy on fine hair
- Buy on Amazon
IN-POST IMAGE
Curl Creams
Best for Definition: Cantu Curl Activator Cream
- Price: $6-8
- Hold: Medium
- Best for: Type 3-4 curls, enhancing curl pattern
- Buy on Amazon
Best for Fine Hair: Giovanni LA Natural Styling Gel
- Price: $7-9
- Hold: Light-medium
- Won’t weigh down fine curls
- Buy on Amazon
Gels (Essential for Frizz Control!)
Budget Champion: LA Looks Extreme Sport Gel
- Price: $3-4
- Hold: Very strong
- No crunch after SOTC
- Must-try for beginners!
- Buy on Amazon
Mid-Range: Aussie Instant Freeze Gel
- Price: $5-6
- Hold: Strong
- Pleasant scent
- Works for most curl types
- Buy on Amazon
Natural Option: Ecoslay Orange Marmalade
- Price: $16-18
- Hold: Medium
- All-natural ingredients
- Great for sensitive scalps
- Buy on Website
Anti-Frizz Serums/Oils
Best Overall: Moroccanoil Treatment
- Price: $44 (but lasts 6+ months)
- A little goes a long way
- Instant frizz taming
- Use on dry hair as finishing touch
- Buy on Amazon
Budget Alternative: Pure Argan Oil
- Price: $10-12
- Same benefits, less fancy packaging
- Use sparingly—very concentrated
- Buy on Amazon
Tools
Microfiber Hair Towel
- Recommended: Aquis Lisse Luxe Hair Towel
- Price: $30
- Worth every penny for frizz reduction
- Buy on Amazon
Diffuser
- Recommended: Xtava Black Orchid Large Diffuser
- Price: $25-30
- Universal fit for most blow dryers
- Buy on Amazon
Satin Pillowcase
- Recommended: Slip Silk Pillowcase (premium) or Amazon Basics Satin (budget)
- Price: $30-80 or $10-15
- Essential for nighttime frizz prevention
- Premium | Budget
Daily Routine for Frizz-Free Curls
Let’s put it all together into a practical routine you can follow.
Wash Day Routine (1-2 times per week)
Step 1: Pre-Shampoo Treatment (Optional but Helpful)
- Apply oil to dry hair 30 minutes before washing
- Coconut, olive, or argan oil work well
- Prevents shampoo from over-stripping
Step 2: Cleanse Scalp Only
- Wet hair with lukewarm water
- Apply sulfate-free shampoo to scalp
- Massage gently with fingertips (not nails)
- Let water rinse shampoo down the lengths
- Don’t scrub the ends—they’ll get clean enough from runoff
Step 3: Condition and Detangle
- Apply generous amount of conditioner from mid-length to ends
- Avoid roots (can make hair greasy)
- Use wide-tooth comb to detangle while conditioner is in
- Leave on 5-10 minutes
- Rinse with cool water (seals cuticle)
Step 4: Apply Products to Soaking Wet Hair
- Don’t towel dry yet!
- Section hair if needed
- Apply leave-in conditioner using praying hands method
- Add curl cream with praying hands, then scrunch
- Add gel generously, scrunch
- Now squeeze out excess water with microfiber towel
Step 5: Dry
- Air dry, diffuse, or plop (your choice)
- Do not touch until 100% dry!
Step 6: Scrunch Out the Crunch
- Once completely dry
- Use oil on palms
- Gently scrunch to break gel cast
- Enjoy defined, frizz-free curls!
Total time: 30 minutes active + drying time
Non-Wash Days (Daily Refresh)
Morning Refresh (5 minutes):
- Take down pineapple/protective style
- Spray hair lightly with water in spray bottle
- Apply small amount of leave-in conditioner or curl refresher
- Scrunch gently to reactivate curls
- Let air dry for 10-15 minutes
Throughout the Day:
- Hands off! Touching creates frizz
- If you must adjust, use fingertips only on the surface
- Reapply tiny bit of gel or oil if needed for flyaways
Evening Protection:
- Gather hair in high, loose pineapple
- Use silk/satin scrunchie
- Sleep on satin pillowcase
Weekly Deep Conditioning (Once per week)
Replace your regular conditioner with a deep conditioning mask:
- Apply generously to wet hair
- Cover with shower cap
- Leave for 20-30 minutes (apply heat for deeper penetration)
- Rinse thoroughly
- Continue with leave-in and styling products
Monthly Maintenance
Clarifying Wash (Once monthly):
- Use clarifying shampoo to remove buildup
- Follow with deep conditioning treatment
- Restores hair’s ability to absorb moisture
Protein Treatment (Once monthly, if needed):
- If hair feels gummy or limp
- Use protein mask or treatment
- Always follow with moisturizing deep conditioner
- Don’t overdo protein—can make hair brittle
Trim (Every 8-12 weeks):
- Remove split ends
- Keeps hair healthy and less frizz-prone
- Find a curly hair specialist or learn to trim yourself
Common Mistakes Making Your Frizz Worse
Avoid these pitfalls that sabotage your frizz-fighting efforts.
Mistake #1: Washing Too Frequently
The problem: Curly hair doesn’t need daily washing. Over-washing strips natural oils and causes dryness, leading to more frizz.
The fix: Wash only 1-2 times per week. On non-wash days, just refresh with water and products.
Mistake #2: Skipping Leave-In Conditioner
The problem: Many think regular conditioner is enough. It’s not. Curly hair needs extra moisture that stays in.
The fix: Always use a leave-in conditioner after every wash. Non-negotiable!
Mistake #3: Using Too Little Product
The problem: Being stingy with products means poor coverage and increased frizz.
The fix: Use more than you think you need, especially gel. You can always use less next time if it’s too much.
Mistake #4: Touching Hair While It Dries
The problem: Every touch disrupts the curl formation and adds frizz.
The fix: Apply products, then step away. Don’t touch until 100% dry.
Mistake #5: Not Protecting Hair at Night
The problem: Eight hours of friction against cotton pillowcases destroys your curls.
The fix: Pineapple method + satin pillowcase = game changer.
Mistake #6: Giving Up Too Soon
The problem: Your hair needs time to adjust to a new routine. Many people quit after one week when they don’t see dramatic results.
The fix: Give any new routine at least 2-4 weeks before deciding if it works. Hair has a transition period.
Frequently Asked Questions
Q1: Can I completely eliminate frizz?
While 100% frizz elimination is nearly impossible (especially in humid climates), you can reduce frizz by 80-90% with the right routine. Some fine baby hairs and minor frizz are normal and natural.
Q2: How long until I see results?
Most people notice significant improvement within 2-4 weeks of consistent routine changes. Your hair needs time to adjust and repair. Be patient!
Q3: Are expensive products worth it?
Not necessarily. Many drugstore products work excellently. Focus on finding the right ingredients and formulations for your hair type rather than chasing expensive brands.
Q4: Can I still straighten my hair sometimes?
Yes, but use heat protectant and don’t do it frequently. Excessive heat styling can permanently damage your curl pattern.
Q5: Why is my hair frizzy even after following these steps?
Possible reasons:
- You need more moisture (increase deep conditioning)
- You need protein (try a protein treatment)
- Hard water in your area (install a shower filter)
- Your products have silicones/sulfates (check ingredients)
- You’re touching your hair too much while it dries
Q6: Do I need to follow every step exactly?
No! This guide provides comprehensive options. Start with the basics (proper washing, moisturizing, protecting at night) and gradually add other techniques as needed.
Q7: My curls are different textures in different areas. Is that normal?
Completely normal! Most people have 2-3 different curl patterns on their head. Adjust your technique for each section if needed.
Q8: Can diet affect frizz?
Yes! Hydration and nutrition matter. Drink plenty of water, consume adequate protein, omega-3 fatty acids, and vitamins. Healthy body = healthy hair.
Final Thoughts: Your Frizz-Free Journey Starts Now
Frizzy curly hair isn’t a permanent problem—it’s a solvable one.
The key takeaways: Moisture is essential for curly hair. Avoid harsh ingredients (sulfates, drying alcohols, bad silicones) Apply products to soaking wet hair. Use gel for hold and frizz control. Protect hair while sleeping. Be consistent and patient
Remember, everyone’s curl journey is unique. What works perfectly for someone else might need adjusting for you. Don’t be afraid to experiment and find your perfect routine.
Your curls are beautiful, and with the right care, they can be defined, healthy, and frizz-free!
Ready to start your frizz-free journey?
Save this guide and commit to trying these methods for the next 30 days. I promise you’ll see a transformation in your curls.
